1. If not already done create a storage bucket.

2. Have a compute instance that would be used to create the instance principal

3. If the compute instance is in a private subnet then create a service gateway and have a rourting rule to sending service related traffic through it.

4. Create a dynamic group using the compute instance's ID as the value to match.


5. Creaet a policy allowing the dynamic group to read the bucket and manage the objects in the bucket.

6. Install OCI client. This only needs to be installed. No need to configure it. If the compute instance is OEL then this would be done via yum.

7. To check if the instance principal works and bucket is accessible, set the OCI_CLI_AUTH=instance_principal and run a list command against tbe bucket using oci cli. Specify the namespace of the OCI tenancy after -ns (omitted in screenshow below).
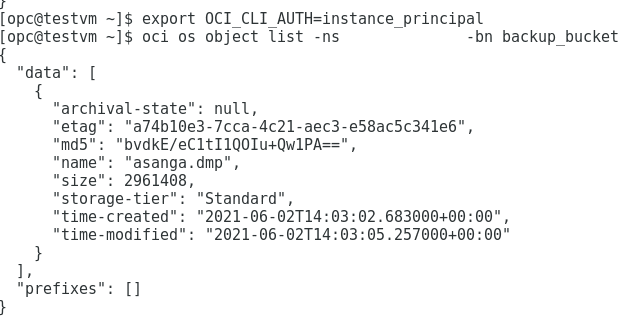
Output above shows the content of the bucket. It contain just one file called asanga.dmp.
Another way to specify the authentication in the oci cli is to use the --auth. This eliminate the need to set an environment variable.